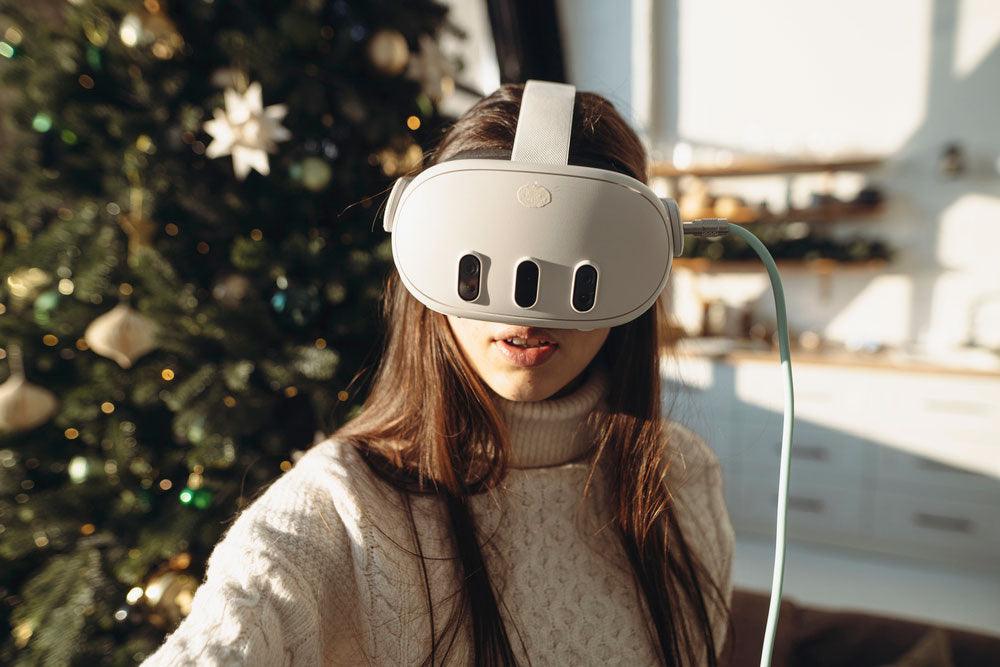
Experience the immersive world of PC gaming like never before by learning how to play Steam games on Meta Quest 3. Imagine getting into your favorite games with the power of virtual reality, bringing every detail to life. The Meta Quest 3 offers a seamless way to bridge the gap between the expansive library of Steam games and the cutting-edge technology of VR. This guide will walk you through each step, ensuring that your gaming experience on the Meta Quest 3 is both enjoyable and easy to set up.
Ensure Your PC Meets the Requirements for SteamVR Compatibility
Before you begin, it's crucial to make sure your PC can handle SteamVR. A compatible computer with a strong graphics card, sufficient RAM, and a powerful processor is necessary for a smooth experience. SteamVR demands high performance, so check that your system meets the recommended specifications. A well-prepared PC not only supports the VR environment but also enhances the overall gaming experience by reducing lag and ensuring clear, sharp visuals.
Download and Install the SteamVR Software on Your PC
Start by downloading the SteamVR software from the Steam store. It's essential to have this software installed on your computer to enable VR gaming on your Meta Quest 3. SteamVR acts as the platform that connects your PC games with your VR headset. The installation process is straightforward, and once it's complete, you’ll be ready to configure your setup. This software is vital for accessing and running your favorite Steam games in virtual reality.
Power On Your Meta Quest 3 and Enable Developer Mode
Next, power on your Meta Quest 3 and navigate to the settings menu to enable Developer Mode. This mode is required to link your headset with your PC for SteamVR gaming. Developer Mode opens up advanced features on your Meta Quest 3, allowing you to run software that isn’t available directly from the Meta store. Enabling this mode is a quick process that prepares your headset for the next steps in the connection process.
Connect Meta Quest 3 to Your PC Using a USB-C Cable
To establish a connection between your Meta Quest 3 and your PC, use a USB-C cable. This wired connection ensures a stable and high-speed data transfer, which is essential for a smooth VR experience. The cable not only powers the headset but also transmits the necessary data to render Steam games in VR. A quality USB-C cable is a critical component in maintaining the seamless performance of your VR setup.
Launch the Oculus Link App on Your Meta Quest 3
With your Meta Quest 3 connected to your PC, launch the Oculus Link app on your headset. This app acts as the bridge between your PC and the Meta Quest 3, allowing you to access your PC’s capabilities within the VR environment. Oculus Link is designed to provide a direct connection to your PC, enabling you to navigate your Steam library and select games to play. The interface is user-friendly, making it easy to start your VR gaming experience.
Open SteamVR on Your PC and Pair with Quest 3
After setting up Oculus Link, open SteamVR on your PC. SteamVR will recognize your connected Meta Quest 3, allowing you to pair the devices. This pairing is essential for syncing your headset with the SteamVR software. Once paired, your Meta Quest 3 will function as a VR display for your Steam games, giving you access to a wide range of titles. The pairing process is straightforward, with prompts guiding you through each step.
Select and Launch Your Desired Steam Game from SteamVR
Now that your Meta Quest 3 is connected and paired with SteamVR, you can select and launch your desired game from your Steam library. The interface within SteamVR allows you to browse through your games and choose the one you wish to play. Once selected, the game will launch in VR mode, providing a fully immersive experience. The Meta Quest 3 brings these games to life, allowing you to enjoy them in a way that’s not possible on a standard screen.
Adjust Settings for Optimal Performance and Enjoy Your Game
Before fully immersing yourself in the game, it’s important to adjust the settings for optimal performance. These adjustments include resolution, frame rate, and comfort settings to suit your preferences and your PC’s capabilities. Tweaking these settings ensures that your gaming experience is smooth, visually impressive, and comfortable for extended play sessions. Once set, you can dive into your game and enjoy the seamless integration of Steam games on your Meta Quest 3.
Unlock the Full Potential of Quest 3 with VR Enhancement Tools at Kiwi Design
Maximize your VR gaming experience by exploring the full range of Quest 3 accessories designed to enhance every moment of your gameplay. With our VR enhancement tools, you can customize and elevate your setup, ensuring that each session is as immersive and comfortable as possible. At Kiwi Design, we specialize in creating innovative VR accessories that integrate seamlessly with the Meta platform, offering the highest quality to meet the needs of VR enthusiasts and gamers worldwide. Discover the possibilities with Kiwi Design and take your VR experience to the next level.


Leave a comment
All comments are moderated before being published.
This site is protected by hCaptcha and the hCaptcha Privacy Policy and Terms of Service apply.